
Preparing your geckos for breeding
The act of breeding, and producing eggs and offspring, is hard on your animals, it is up to us as responsible breeders to ensure the safety of our animals. This is why research is necessary before attempting to put two geckos of the opposite sex together.
First, it is important to ensure you have an adequate supply of food, these geckos have a fast metabolism already and young, growing animals and gravid or laying females require copious amounts of food compared to mature, nonbreeding individuals. They also have a greater need for easy access to calcium (w/no D3) in addition to their regular supplementation regime, I use Supercal NoD in a shallow dish and allow the females constant access to it. This is usually the same dish I will feed mealworms and dubia roaches in. Females can quickly become calcium deficient during the laying season, sometimes with few outward symptoms, and babies hatched from these deficient females will sometimes emerge deformed, misshapen, with broken limbs, or prone to MBD.
Setting up the breeding tank
For breeding purposes the setup can be very simple, this allows for faster and easier monitoring of the animals themselves, and easier removal of eggs once laid. I have used several setups throughout the years, I go over two or three, and the pros and cons of each in my Pictus Gecko primer.
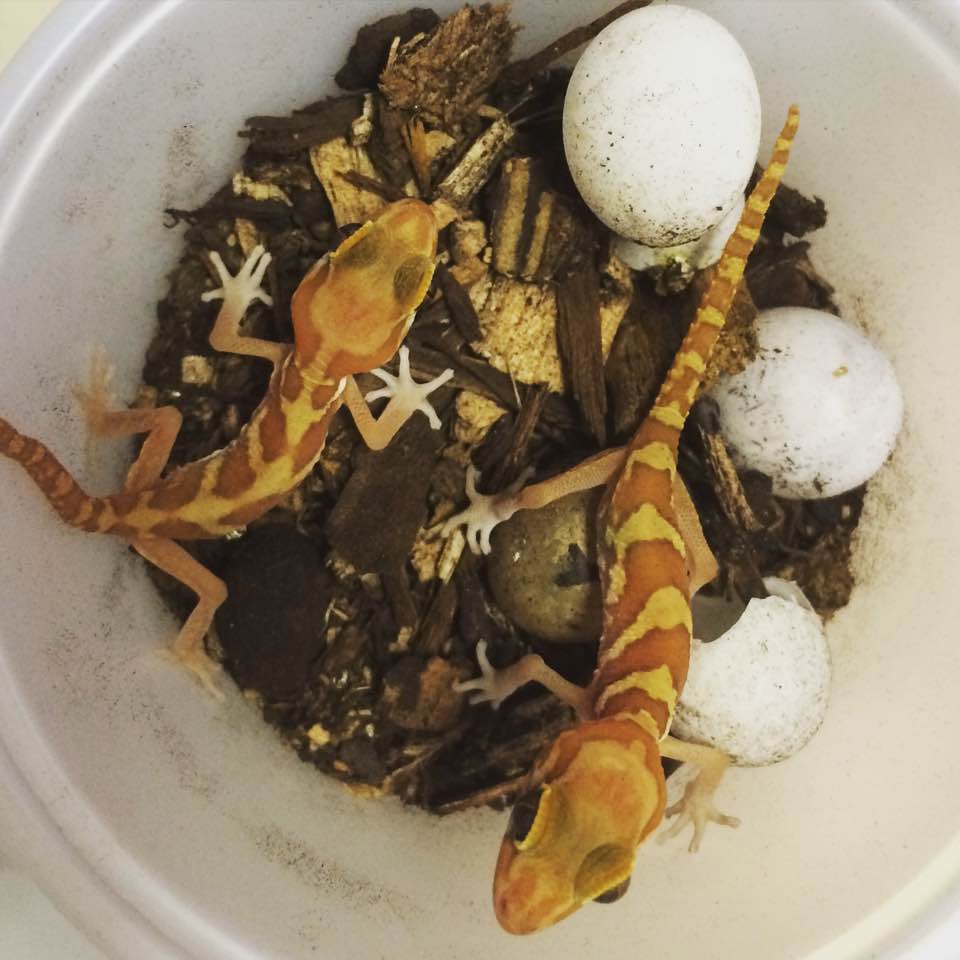
My current breeding setup consist of a tub with a floor space of about 18″ by 8″, roughly the same amount of floor space offered by a ten gallon tank. I use about 1/2″ of Zilla brand Jungle Mix substrate, dry, on the bottom of the entire tub, this gives enrichment for the geckos in the form of digging. Cage decorations include a water dish, food dish, and a hide. I use a water dish made of plastic or ceramic as that is an easy to sterilize material, which is especially important in larger collections. The food dish is a disposable, plastic dish with a rim to keep bugs from escaping sold by TSK reptile supply HERE. I keep calcium in the dish all the time and add mealworms and dubia a couple times a week. I use 4″ diameter plastic deli cup, roughly 2-3″ tall, with a hole cut in the top both as a humid hide, and a safe place for the females to lay their eggs. I use the same Jungle Mix substrate inside but at a deeper depth, and kept moist. Sometimes I will use sphagnum moss inside the cups as some females prefer it. Again, everything is meant to be easily cleaned or discarded to prevent spread of any contamination when transferring geckos around.
Introducing your geckos
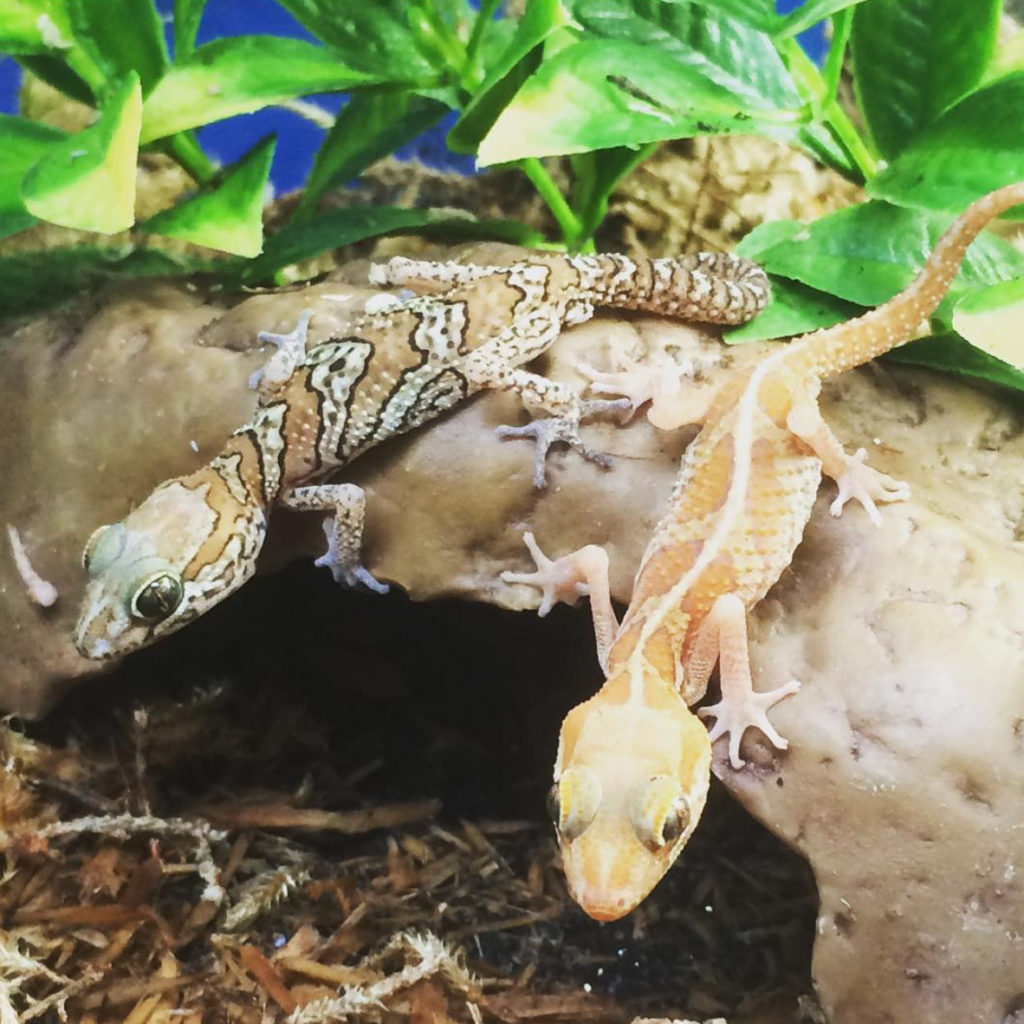
We typically wait until our females are 11-13 months of age before pairing
In the past our strategy involved placing the male with the female for just a few days at a time, as typically he will breed the female right away, and reintroducing them every few weeks or so throughout the breeding season. Every now and then we get a set of infertile eggs this way. I think next year we will try keeping the males with the female for the duration of the breeding season, spring through fall, as long as the females are maintaining body condition.
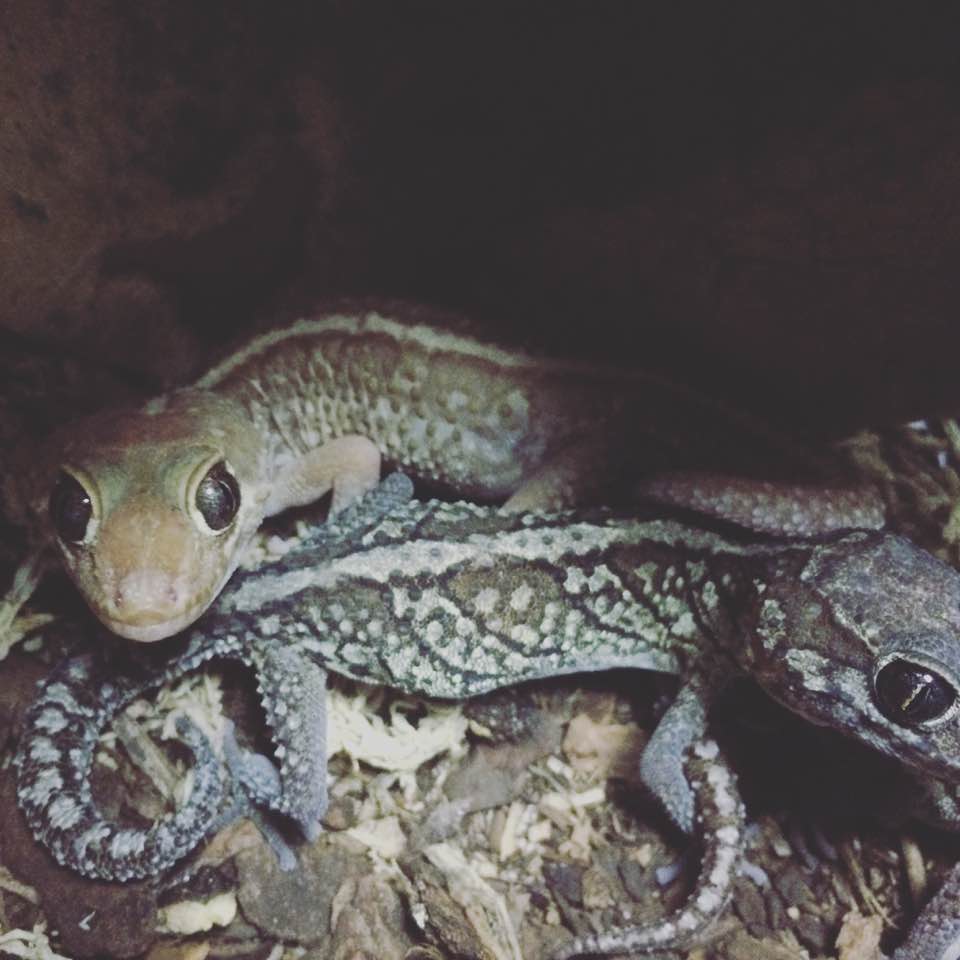
As stated earlier, mating usually occurs immediately, or later the same
night of introduction. The females will lay 4-6 clutches, one pair of
eggs every 3-4 weeks, before stopping. With the first clutch sometimes being infertile. Even if your female does not stop laying on her own at the end of the season, it is advisable to separate the female with the advent of cooler weather in order for her to regain any lost body condition and to not stress her out with constant laying.
After they finish laying I let them “rest”, and regain any lost weight and
vitality, how long that takes will vary between individual geckos and
feeding programs, before I consider placing another male with them again
for breeding.
Incubating the eggs
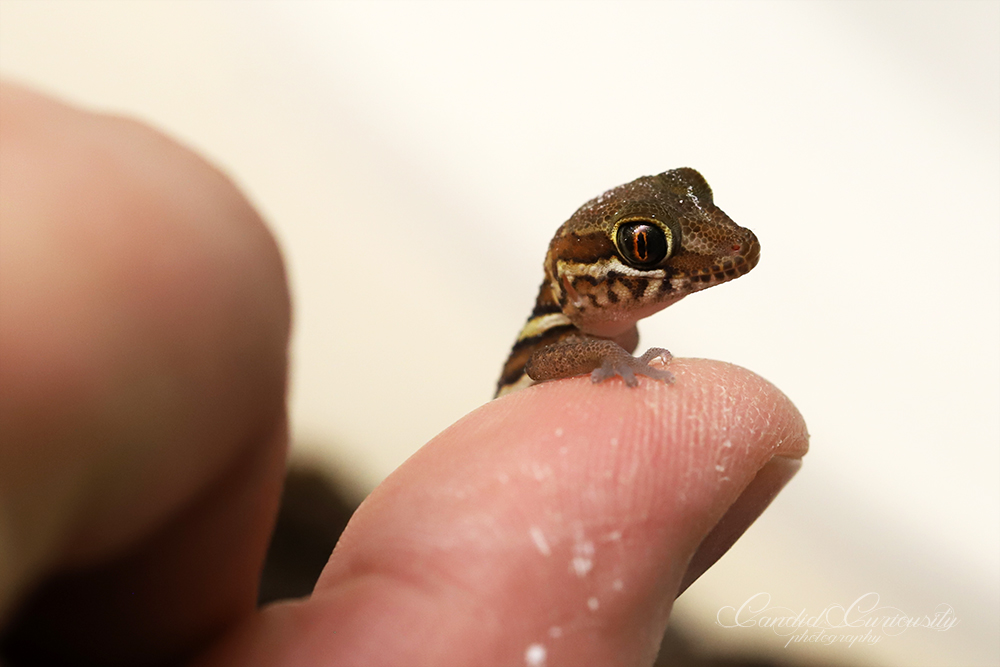
Pictus gecko eggs generally incubate very quickly, hatching in just a couple
of months. Though I have heard of some eggs going for almost 100 days before hatching. When in doubt I leave them in the incubator!
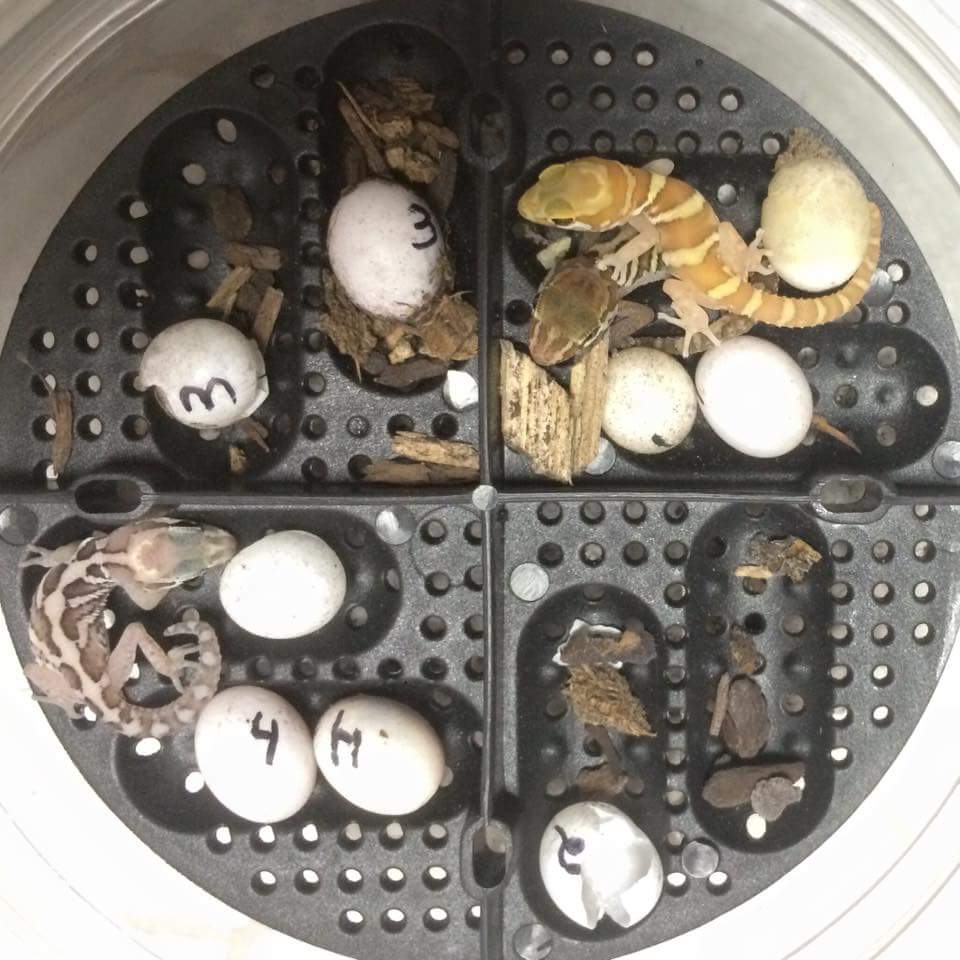
I incubate my eggs in the low to mid 80’s using Exoterra brand
thermo-electric mini fridge style incubators that both heat and cool. In recent years I have had a few problems with the temperature display showing an inaccurate temperature that does not reflect the temperature inside the incubator, but I always leave a digital thermometer in each incubator for safety. I also still utilize Zoomed foam Reptibator incubators. I find the
Zoomed’s reptibator holds stable temperature, and is easier to set up, then
Hovabators made for poultry, though the gecko eggs are hardy enough that a Hovabator or homemade incubator can still yield positive results.
In the past I made a homemade incubator using an aquarium, halfway filled with water and an aquarium heater, with the egg trays floating on the warm water surface. The egg trays must be sealed very tightly in this style of incubator. . . .
In conclusion
. . . . . . .